

Advanced Happy Father’s day to all the dads out there! 
 I was going to post this tomorrow morning for the actual Father’s day but decided to post it today so you can chill the cheesecake overnight and have it ready to go if you decide to make it.
My father encouraged all my many hobbies so I have him to thank for all that I do. I collected a variety of books, cacti, really expensive orchids, grew veggies, fruit trees, bought cooking and baking equipment, baking pans, sewing and crafting items, soap making materials, jewelry making things, everything coffee related, shoes, bags, and so much more! I was the first to use all his treasured kitchen appliances that were only previously up on the cabinets. And I realize that even now, those things are dear to me, that those hobbies are still things I enjoy doing/making/having. So I try and encourage my son when he shows interest in something. I try to get involved as much as I can in his hobbies since I am learning with him too and I hope he is learning something he will keep doing even when he is older.
Back to this recipe….if you have not prepared any dessert in advance and want to make something special, then I encourage you to try this! I did say to leave it in the fridge overnight (ideally) as I always prepare this a day ahead, but if you are pressed for time, 2-4 hours is likely enough. I didn’t try placing it in the freezer to rush the chilling but I’m guessing that could work too. If you tried it, please let me know how it turned out.
This makes a perfect little dessert for 2 to 6 people, depending on how much dessert they can handle. Trust me when I say it’s really good and that you might get asked for seconds or thirds!
And for today, dad can have it all for himself if he so desires!

*NOTE that this recipe uses regular sized measuring cups, NOT the tiny Itaki cup*
Ingredients:
For the crust:
1/2 cup graham cracker crumbs
2 tablespoons melted butter
1 tablespoon brown sugar
For the cheesecake:
8 oz cream cheese room temperature
1/3 cup granulated sugar
1 egg room temperature
1 tsp vanilla
3 Itaki cups of water for the base
Line the big bowl of the Itaki with parchment paper cut to fit the bottom. This will make it easy to get your cheesecake out in one piece.
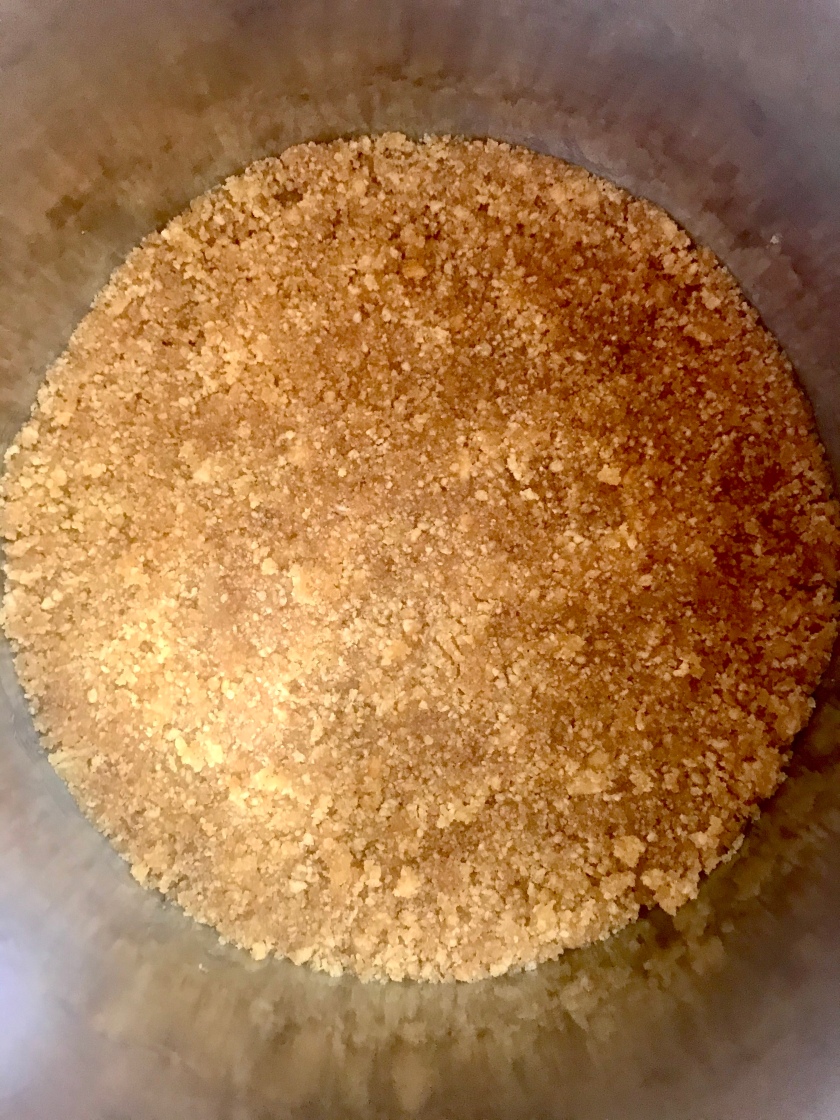
Mix together the crust ingredients in a small bowl and use a spoon to press firmly onto the bottom of the parchment lined bowl. Set aside.
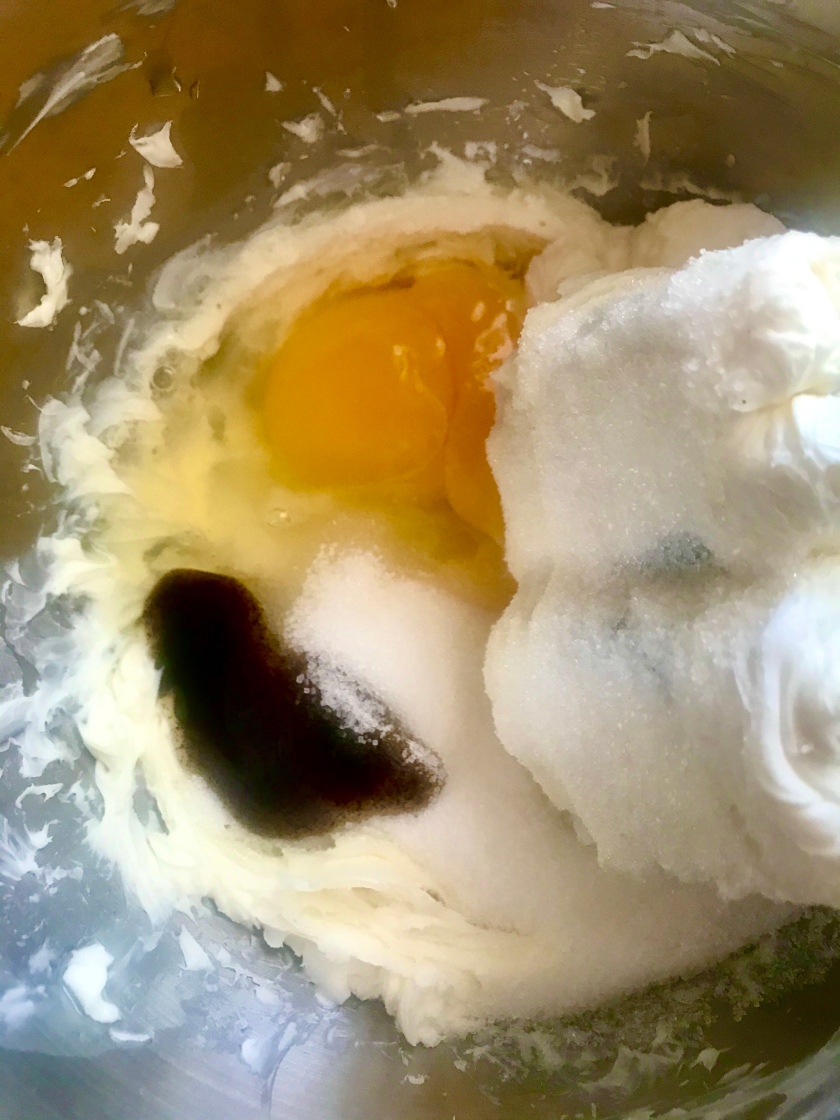
In a another bowl, beat the cream cheese using a hand mixer until it is smooth. Scrape down the sides and beat in the sugar, egg, and vanilla until blended.
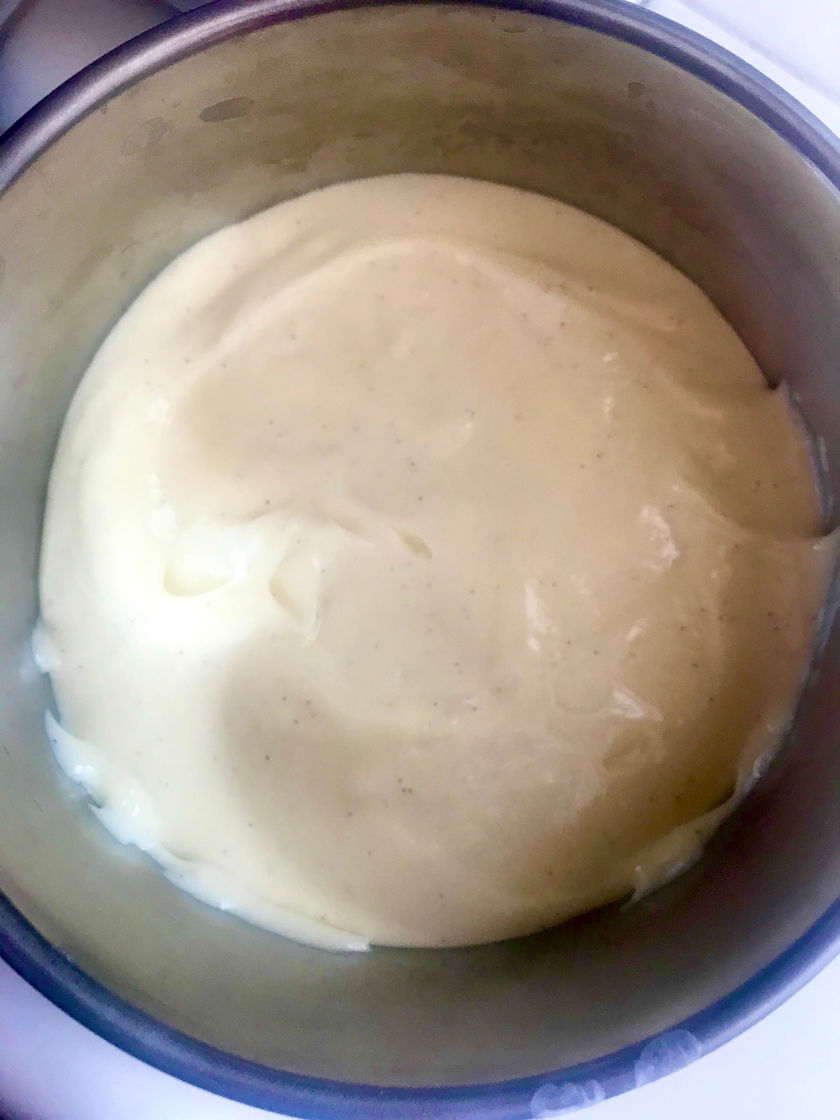
Pour over the crust, smooth the top and cover the bowl with a piece of aluminum foil. Place the bowl on the base of the Itaki.
Add 3 Itaki cups of water to the base. Cover and steam until it shuts off, about 50 minutes.
Remove the cheesecake and check for doneness, the edges has to be set but the middle is still a little jiggly. Cover and cool on a wire rack. When cool, leave in the refrigerator at least 4 hours, ideally overnight.
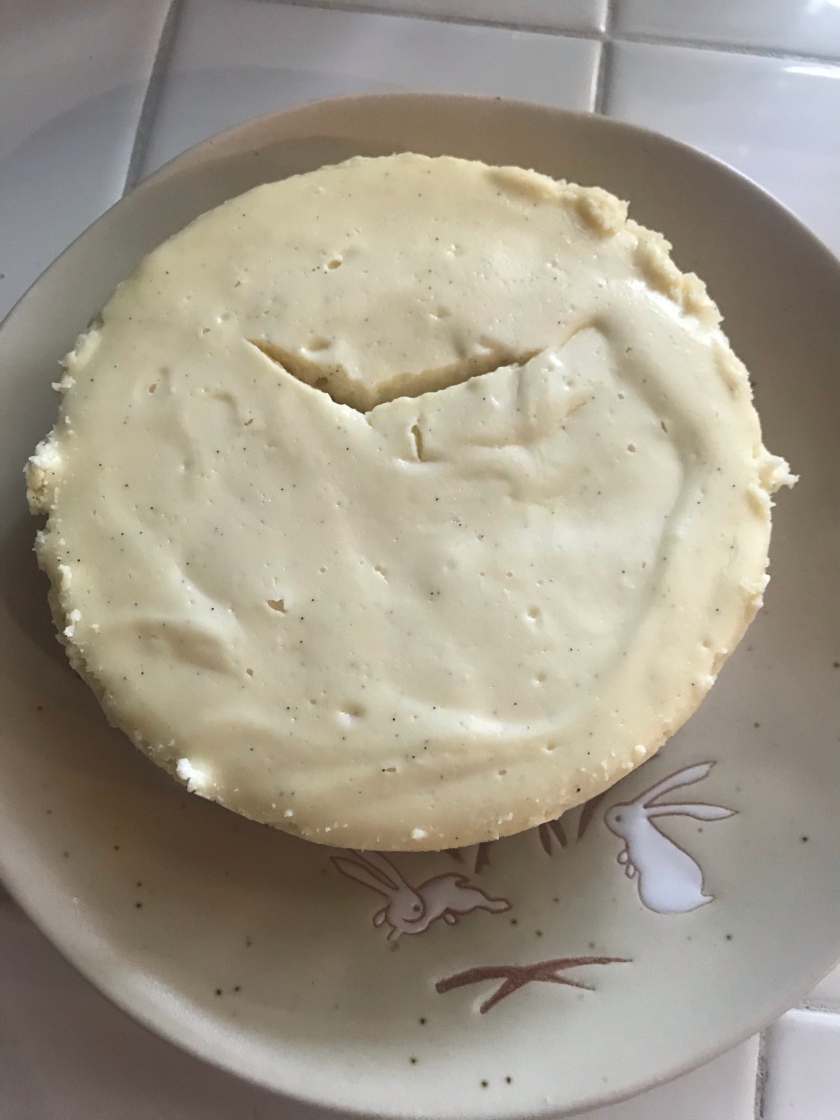
To remove cheesecake, run a knife along the edge of the cheesecake. Place a plate over the bowl and tip the bowl over. The cheesecake should fall onto the plate. Transfer to a serving dish, top side up. Top with desired topping before serving. I like to top it with fruits, berries or even canned pie filling like in this photo!

Follow me for more recipes for the Itaki!
See and order Itaki’s offerings here! https://www.itakico.com/theresa