Cigar/Pipe news: This is so sharp and timeless.
Keep smoking
rebornpipes
reclaiming old and worn estate pipes

Restoring a Kirsten RX System Pipe from Bob Kerr’s Estate
Blog by Steve Laug
 The first of the Kirsten pipes I have chosen to work on from Bob Kerr’s Estate is an RX Anodized Brass coloured Barrel system pipe with a saddle stem. It is the first of Bob’s Kirsten pipes. (Bob’s photo is to the left). If you have not “met” the man and would like to read a bit of the history of the pipeman, his daughter has written a great tribute that is worth a read. Because I have included it in most of the restorations of the estate to date I thought that I would leave it out this time. Check out some of the recent Dunhill restoration blogs (https://rebornpipes.com/2020/01/01/restoring-the-last-of-bob-kerrs-dunhills-a-1962-dunhill-bruyere-656-f-t-bent-billiard/).
When I think of Kirsten pipes this is the shape that sticks in my mind because it is similar to the first Kirsten that I purchased in the late 70s. On the left side of the shank it is stamped with Kirsten in script. On the underside of the anodized barrel it is stamped Made in U.S.A. followed by RX. X107. It is a bent with large Dublin bowl. Metal base is dented and worn. The pipe has gaskets. Stem is oxidized, tooth marks, chatter near the button. Button is damaged. There is a cake in the bowl and lava overflow on the rim. The pipe is very dirty. Jeff took photos of the pipe to show its general condition before he did his cleanup. 
 The exterior of the pipe was very dirty – grime and grit ground in from years of use and sitting. The rim top was covered with a coat of thick lava that overflowed the bowl. There was also some darkening and lava on the rim top. The bowl itself had a thick cake with flecks of tobacco stuck in the cake on the sides. It also appeared that there was some mold on the surface of the cake in the bowl.
 Jeff took a photo of the side and the heel of the bowl to give a better feel for the condition of the bowl. You can see the interesting grain on the bowl side and front.
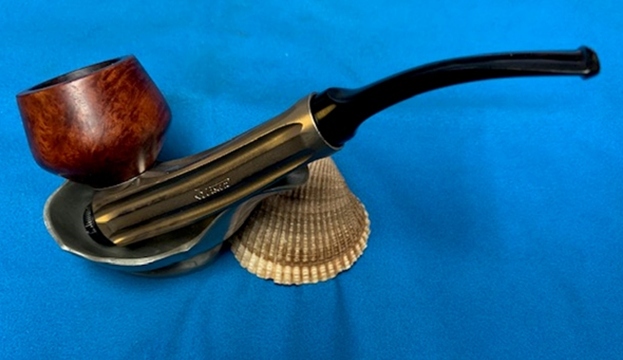
 The next photos show the stamping on the sides of the barrel shank and it is very readable. It reads as noted above.
  The stem was dirty and extremely oxidized, calcified and had tooth marks on both sides ahead of the button. It was not nearly as chewed the other pipes in Bob’s estate.
  Before doing cleanup work on the pipe I decided to do some research on the pipe. I have a catalogue for Kirsten pipes in my files and found this pipe in the catalogue. It is shown in the photo below in the bottom of the photo. The pipe I am working on is in the Regent Shape.
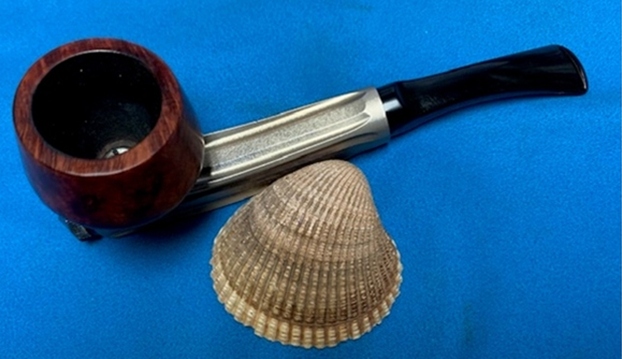
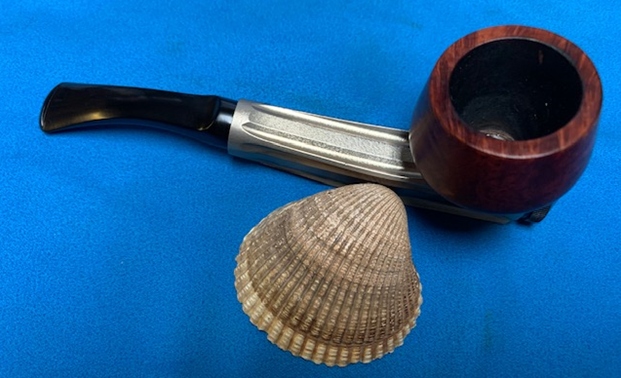
 I am really glad that Jeff helped me work through this estate of over 125 pipes to clean from Bob’s estate. I would in no way be this close to finishing the estate without his help. Jeff cleaned the pipes with his usual penchant for thoroughness that I really appreciate. He had reamed it with a PipNet pipe reamer and cleaned up the remaining cake in the bowl with a Savinelli Fitsall Pipe Knife. He scrubbed out the internals with alcohol, pipe cleaners and cotton swabs until the pipe was clean. He scrubbed the exterior of the bowl with Murphy’s Oil Soap and a tooth brush to remove the grime and grit on the briar and the lava on the rim top. The finish looks very good with good looking grain around the bowl and shank. Jeff took the pipe apart and cleaned the barrel, the adjustable valve and the stem with alcohol, pipe cleaners and cotton swabs. He scrubbed the stem with Soft Scrub and soaked it in Before & After Deoxidizer to remove the oxidation on the rubber. When the pipe arrived here in Vancouver for the second stop of its restoration tour it looked a lot better. I took photos before I started my part of the work.
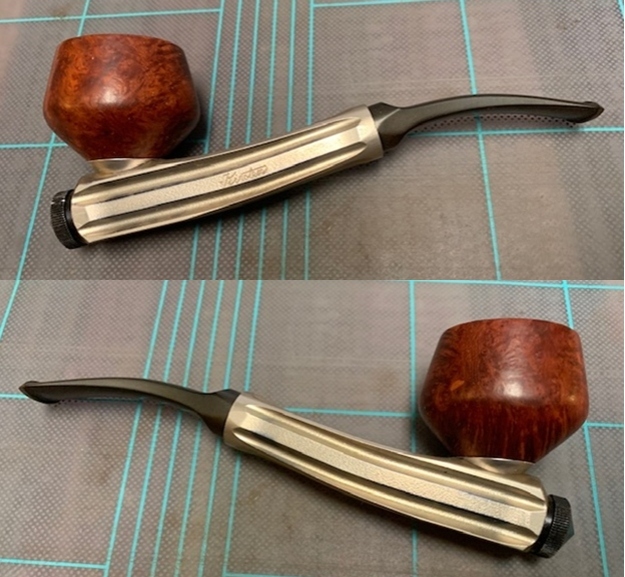
 I took some close up photos of the rim top and also of the stem surface. I wanted to show what cleaned bowl and rim top looked like. The rim top and edges of the bowl looked very good. The screw in the bottom of the bowl looks very good with no damage to the slots. I also took close up photos of the stem to show the light tooth marks and the remaining oxidation on the stem surface.
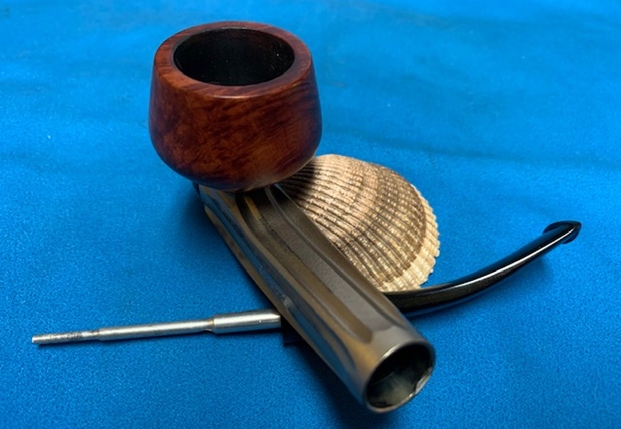
 I took the pipe apart and took photos of the parts of the pipe to give a picture of what it looked like.
 Now, on to my part of the restoration of this Kirsten RX pipe. I decided to start by polishing the bowl and rim top with micromesh sanding pads – wet sanding with 1500-12000 grit pads and wiping the briar down with a damp cloth after each sanding pad.


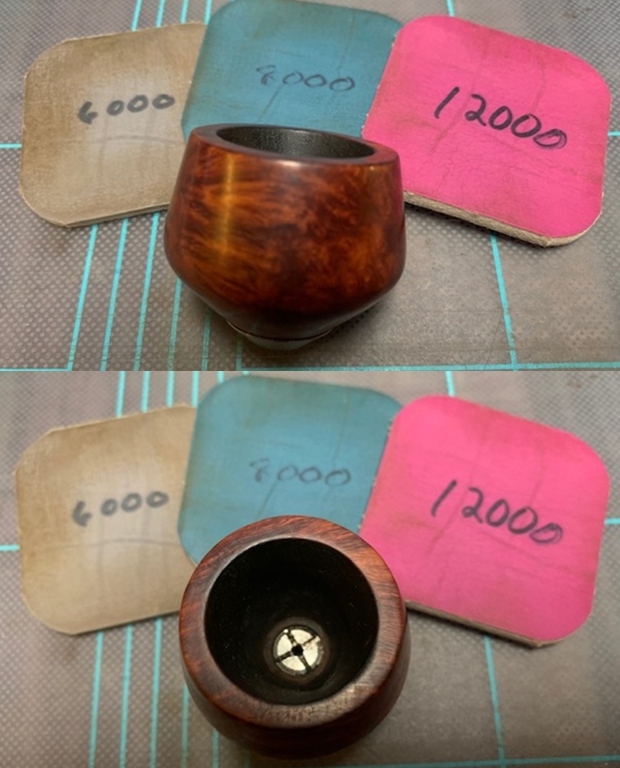
 I rubbed the bowl down with Before & After Restoration Balm. I worked it into the surface of the bark on the bowl sides and shank with my fingertips to clean, enliven and protect it. I let the balm sit for a little while and then buffed with a cotton cloth to raise the shine.
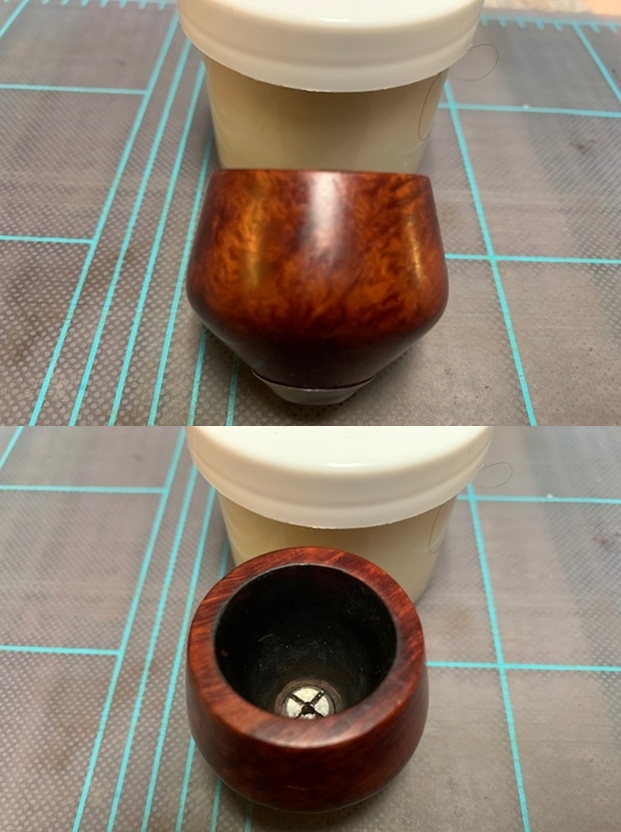
 I rubbed the valve on the metal base with some Vaseline Petroleum Jelly. I have found that it keeps the valve from sticking in the base end.
  I screwed the bowl on the top of the metal barrel. This part of the restoration is finished and the pipe is looking really good at this point in the process. All that remains is the stem and push rod that goes in the end of the base.
 I set the bowl and metal barrel aside and turned my attention to the stem. I sanded out the stem surface with 220 grit sandpaper to remove the tooth marks and chatter. I started to polish it with 400 grit wet dry sandpaper.
 I polished the vulcanite with micromesh sanding pads – 1500-12000 grit pads. I wiped it down with a damp cloth after each sanding pad. I used Before & After Pipe Polish – both Fine and Extra Fine to further polish the stem.
 This Kirsten RX Made in USA ¼ pipe from Bob Kerr’s estate turned out to be another great looking pipe. The finish on the pipe is in excellent condition and works well with the polished vulcanite saddle stem. I put the pipe back together and carefully buffed it with Blue Diamond on the buffing wheel. I gave the bowl and stem multiple coats of carnauba wax on the buffing wheel and followed that by buffing the entire pipe with a clean buffing pad. I hand buffed the pipe with a microfiber cloth to deepen the shine. Give the finished pipe a look in the photos below. The dimensions of the pipe are Length: 6 inches, Height: 2 inches, Outside diameter of the bowl: 1 ½ inches, Chamber diameter: 7/8 of an inch. If you are interested in carrying on Bob’s legacy with this pipe send me a message or an email. I have 2 more of Bob’ pipes to go, perhaps one of those will catch your attention. Thanks for reading this blog and my reflections on the pipe while I worked on it. This is an interesting estate to bring back to life.

